

Last updated October 9, 2026
Free in-home measure and quote - PGT, CGI and CWS impact lines compared on your actual openings, style by style
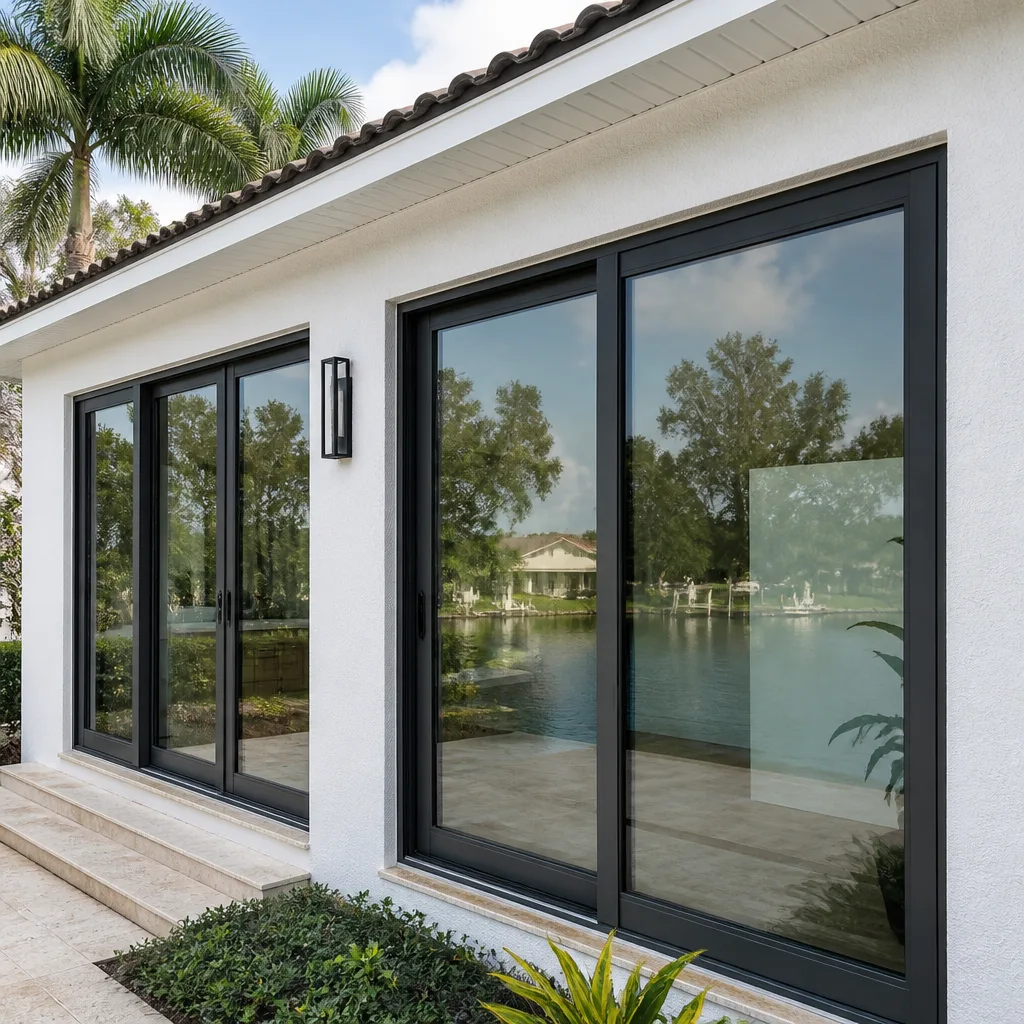

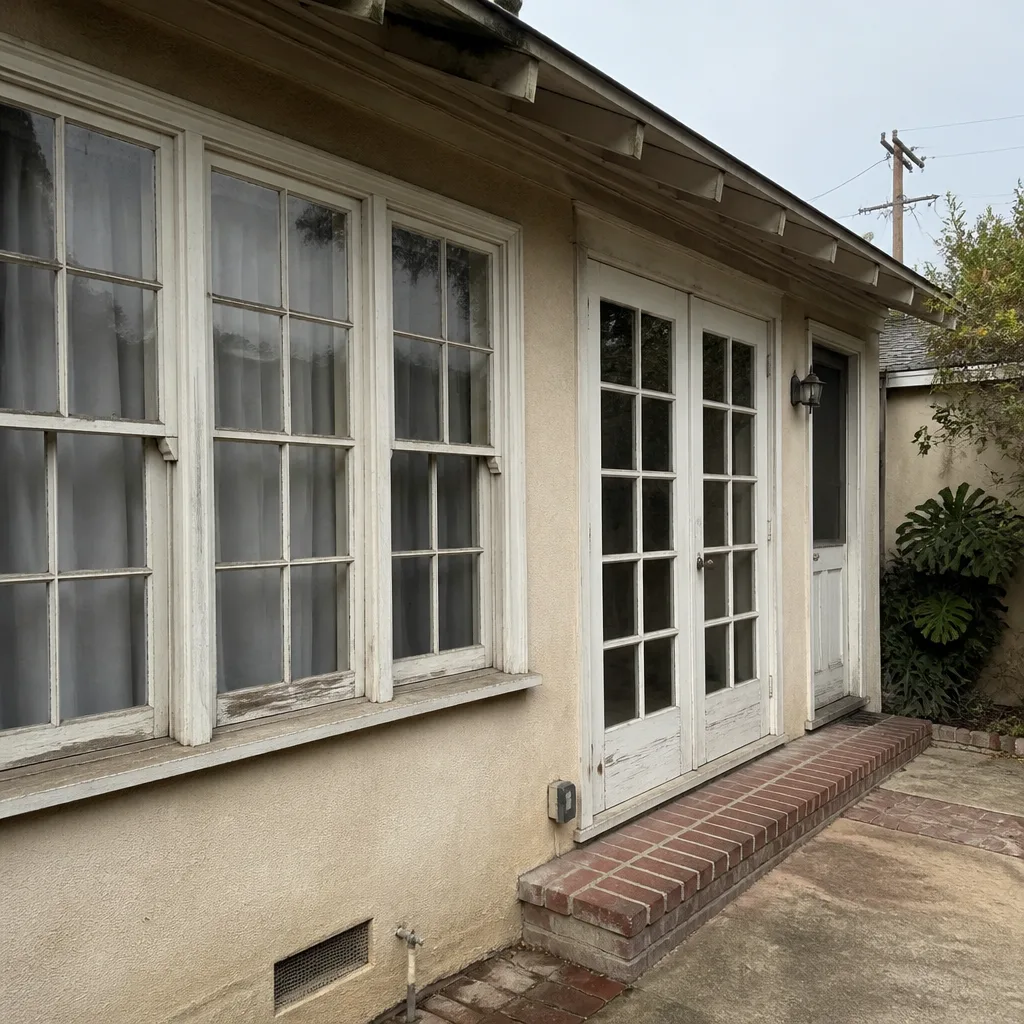 Before
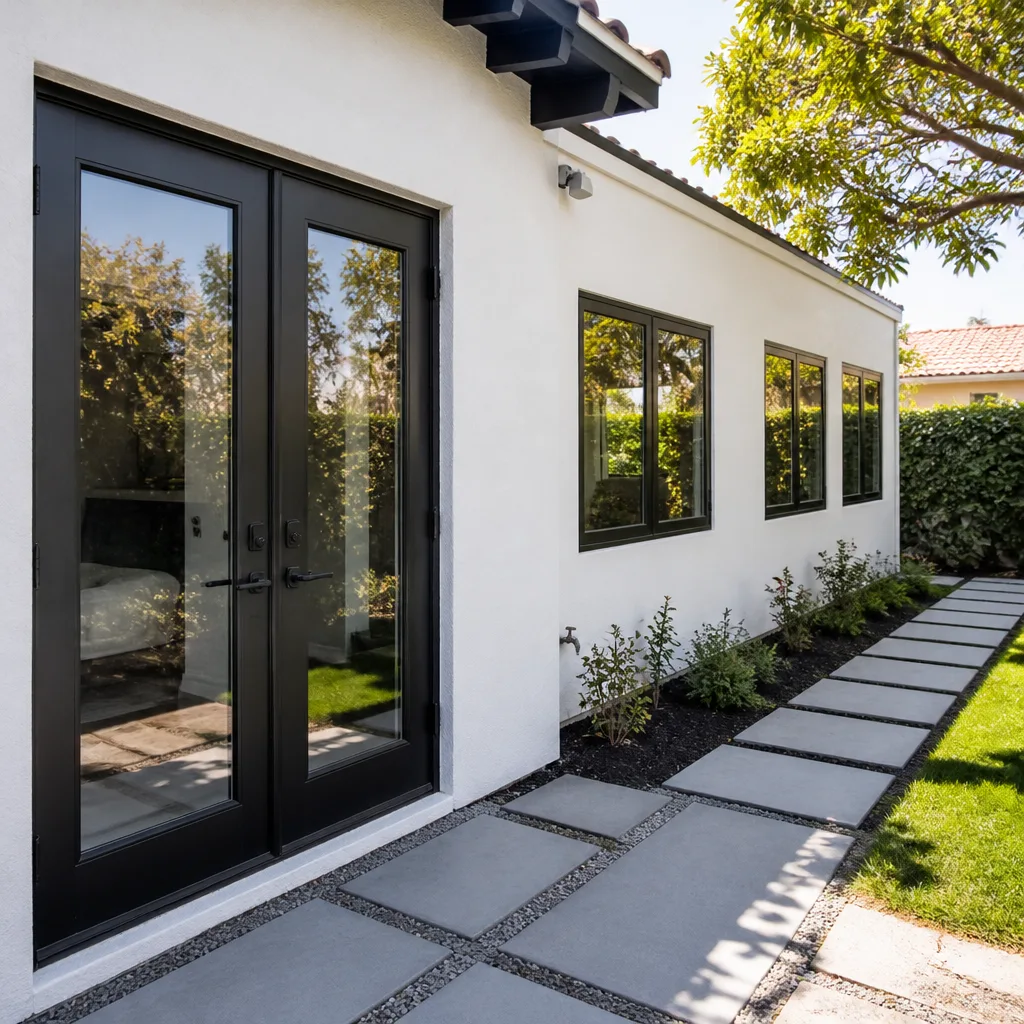 After
After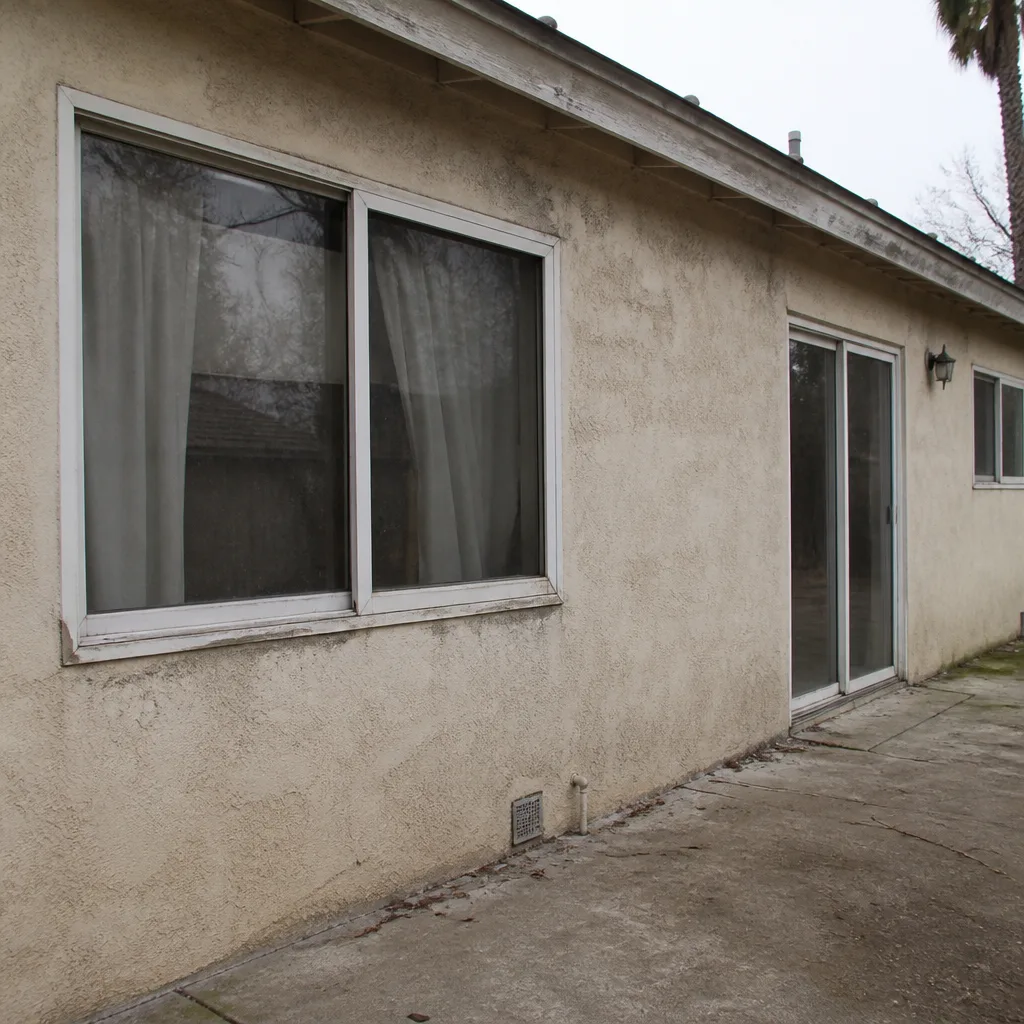 Before
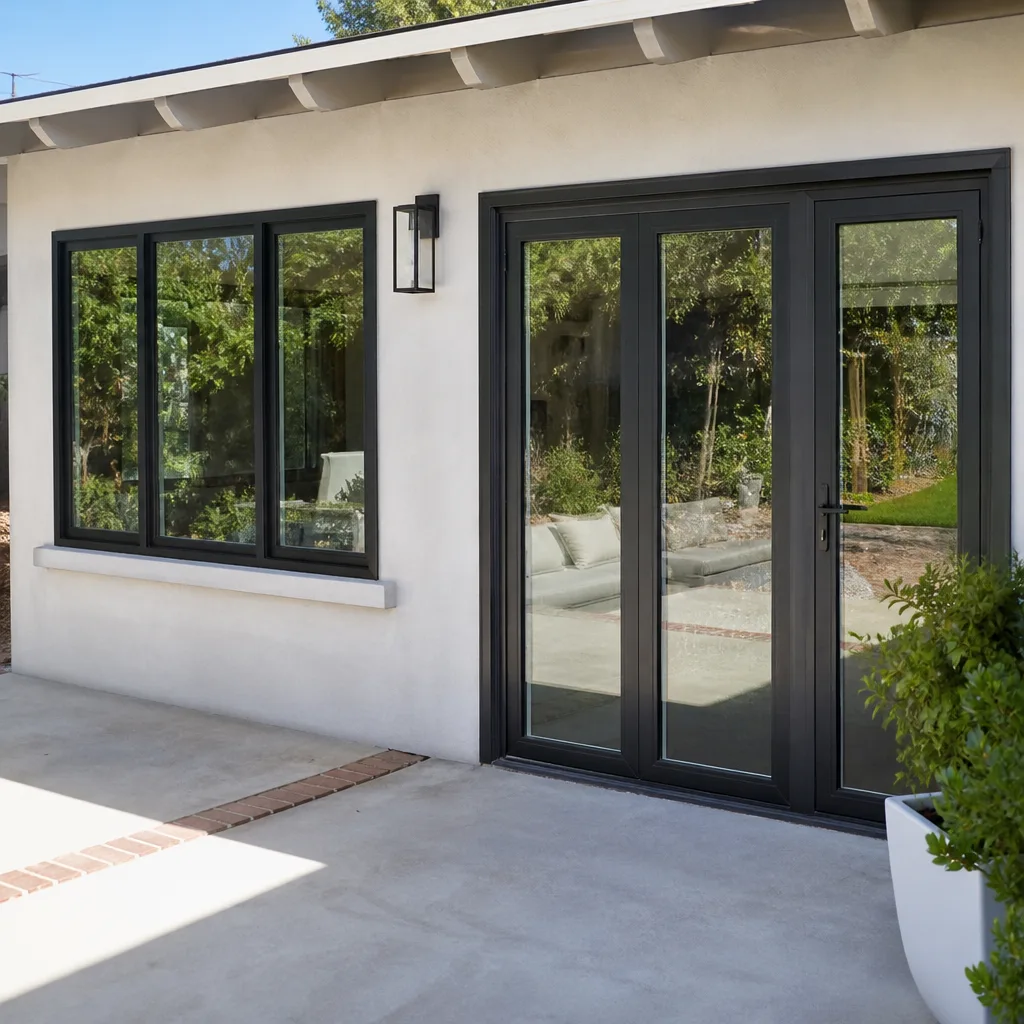 After
After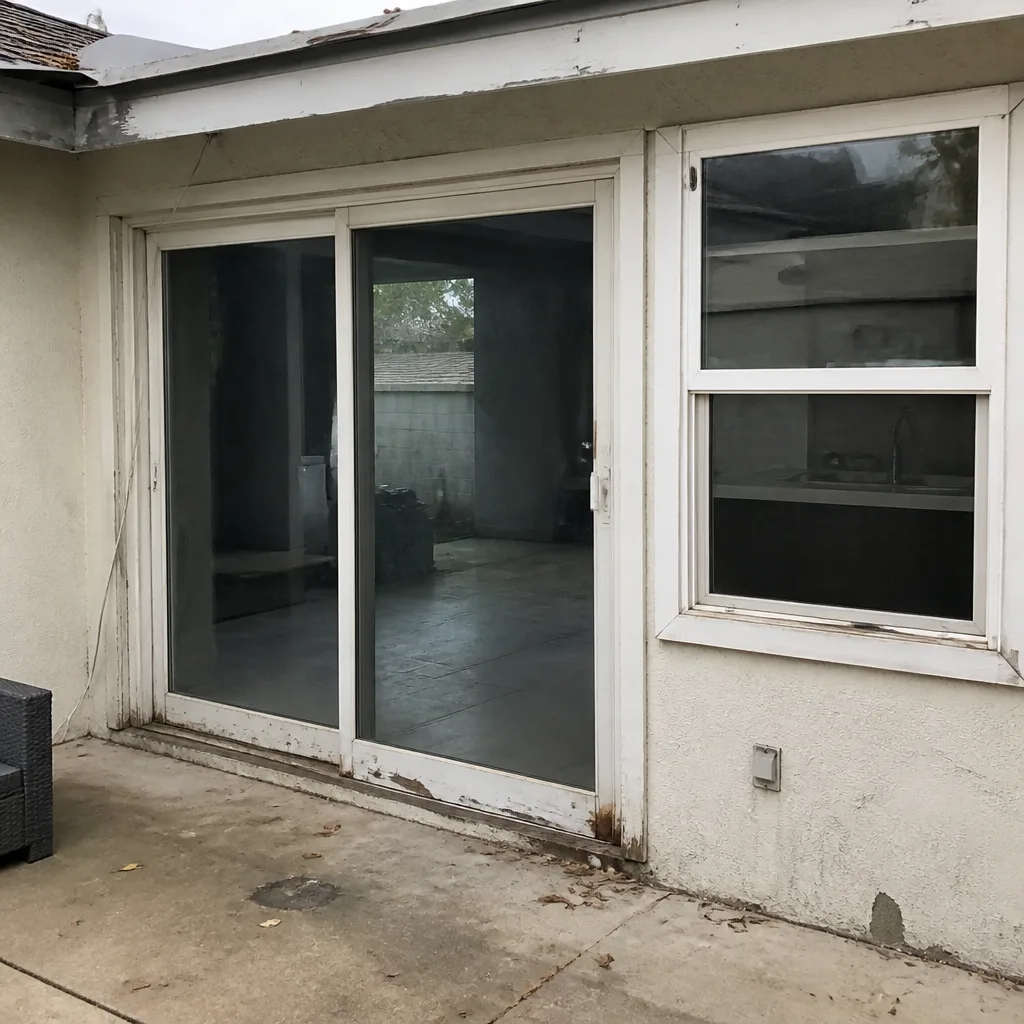 Before
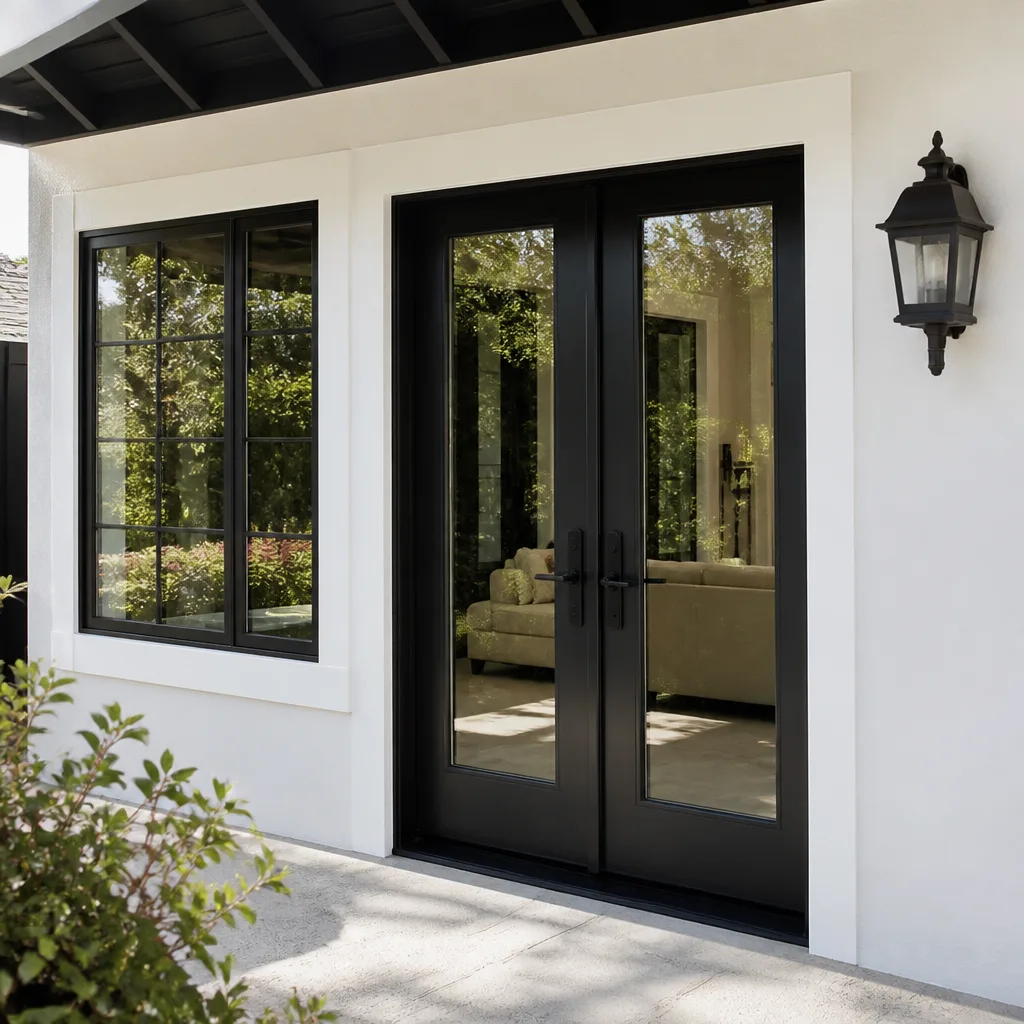 After
AfterDIY vs Professional Window Replacement: What’s Safe to Do Yourself
Pulling a window permit yourself as an owner-builder in California is completely legal. What nobody tells you until it’s too late is that doing so automatically voids the manufacturer’s installation warranty on most premium window lines. That detail alone has cost Los Angeles homeowners thousands when a seal fails five years later and there’s no coverage left. This guide walks through the real dividing line between what a competent DIYer can safely handle and what carries legal, structural, or warranty consequences if it goes wrong, complementing our full Window Replacement resource.
Quick Answer
What’s safe to do yourself: measuring windows, ordering them to spec, removing interior trim, painting, caulking interior gaps, and minor weatherstripping. What’s not safe: anything involving structural framing, flashing installation, stucco cuts, load-bearing header work, or permit-required replacements. The line isn’t about skill; it’s about what happens legally and financially when a hidden step fails.
Table of Contents
- The Real DIY Question Nobody Asks
- What’s Genuinely Safe to Do Yourself
- Where DIY Goes Wrong: Flashing, Framing, and Water
- California Owner-Builder Rules: What a Self-Permit Actually Means
- The Real Cost Comparison: DIY vs Professional in Los Angeles
- How to Verify a Professional’s Work Mid-Job
- Warranty and Insurance Impacts You Can’t Ignore
- Common Mistakes to Avoid
- When to Call a Professional
- Frequently Asked Questions
- The Bottom Line
The Real DIY Question Nobody Asks
YouTube makes window replacement look like a weekend project. Remove the old window, set the new one, shim it level, screw it in, done. Tens of thousands of homeowners across Los Angeles have watched those videos and felt confident enough to try it. The videos skip the question that actually matters: which parts of this project carry legal, structural, or warranty consequences if you get them wrong? Because that answer draws a much sharper line than any skill-level assessment ever will.
We’ve walked into homes in Los Angeles where a DIY window install looked flawless from the inside. Trim was tight, paint was clean, the window opened smoothly. Then we pulled the exterior casing and found flashing installed backwards, water running behind the stucco, and framing that had been quietly rotting for two years. The homeowner paid $400 in materials and saved $800 on labor. It cost them $6,000 to fix the damage. That’s not an exception. That’s a pattern we see in Los Angeles regularly, especially in older homes where original framing doesn’t match modern window dimensions.
The honest answer is that some parts of window replacement are genuinely DIY-friendly. Others are not. The skill lies in knowing which is which before you cut anything.
What’s Genuinely Safe to Do Yourself
Before we get to the scary stuff, let’s be clear about what a competent homeowner can absolutely handle. These tasks require patience, basic tools, and attention to detail. They do not require a contractor’s license.
Measuring windows is the most valuable DIY skill you can develop. You don’t need a pro for this, and doing it yourself teaches you more about your home’s openings than any quote will. Measure width at top, middle, and bottom. Measure height at left, center, and right. Record the smallest dimension of each. For replacement windows in Los Angeles, you also want to note whether the opening is square by measuring diagonals. A difference of more than 1/4 inch means you’ll need adjustment shims or a different window style.
Ordering windows to spec is learnable. Once you have accurate measurements, manufacturers like ES Windows and ECO Window Systems will build to your exact dimensions. The learning curve here is knowing which frame material, glass package, and operation style fits your home’s construction. A 1920s Spanish-style home in Los Feliz has different needs than a 1970s ranch in the Valley, and the wrong spec means ordering twice.
Interior trim removal and replacement is genuinely approachable. Pry bars, a utility knife, finishing nails, and wood filler will cover most of it. Removing interior casing gives you a clear view of the window’s condition and the rough opening. Reinstalling or replacing that trim after a pro does the structural work keeps you involved without touching anything load-bearing.
Interior caulking and painting around the window after installation is straightforward. A clean bead of paintable silicone along the interior joint seals air gaps and looks professional with minimal practice.
Weatherstripping replacement on older windows is a cheap, satisfying fix. Foam tape and V-strip weatherstripping from any Los Angeles hardware store will cut drafts noticeably. This is maintenance, not replacement, but it’s worth including because many homeowners replace windows when they only needed new weatherstripping.
None of these tasks touch the building envelope. That’s the key distinction.
Where DIY Goes Wrong: Flashing, Framing, and Water
Flashing is the single highest-risk step in window replacement, and it’s the one YouTube tutorials gloss over fastest. A window is not waterproof on its own. The window sits in an opening, and the flashing sequence directs water away from the opening and back out to the exterior surface. Get that sequence wrong and water doesn’t pour in on day one. It seeps, over months and years, behind the stucco or siding, into the framing, and down the wall cavity.
Here’s what a wrong flashing sequence looks like before it’s covered by stucco or exterior finish:
- The installer applies the bottom flashing first, but it’s not wide enough to extend past the exterior finish plane, so water wicks back under the window instead of draining out.
- The side flashing is installed over the bottom flashing incorrectly, with the lap facing the wrong direction, so water running down the side hits a seam instead of flowing over it.
- The top flashing is omitted entirely, or the top flashing is tucked behind the water-resistive barrier instead of lapping over it, which funnels water directly into the wall.
- No back dam or sill pan is installed at the bottom, so any water that reaches the sill has nowhere to go but into the framing.
Once stucco or siding covers that sequence, it’s invisible. The water damage accumulates quietly. In Los Angeles, we don’t get the heavy seasonal rain that makes water intrusion obvious quickly in other climates. An incorrectly flashed window may go three or four years before the homeowner notices paint bubbling, drywall staining, or a musty smell. By then, the framing repair costs more than the original window.
Framing is the second major failure point. Modern replacement windows are built to fit rough openings of specific dimensions. When an older Los Angeles home has rough openings that are out of square, too small, or framed with lumber that’s not solid enough to anchor properly, the window has to be modified or the opening reframed. That work involves load-bearing headers, king studs, and sill plates. Cutting into any of that without understanding load paths is how you get sagging drywall, binding windows, and in bad cases, cracked stucco on the exterior.
Stucco cutting is the third issue specific to Los Angeles and Southern California construction. Most homes here are stucco exteriors. Cutting stucco cleanly around a window opening requires the right blade, the right depth control, and an understanding of how stucco interacts with flashing. Cut too deep and you’ve compromised the weather barrier. Cut too shallow and you’ve left gaps that water will find. The right cut leaves a clean edge that flashing can lap over properly. The wrong cut leaves you patching stucco, and stucco patches never quite match the texture of surrounding areas.
California Owner-Builder Rules: What a Self-Permit Actually Means
California law allows homeowners to pull their own building permits as owner-builders. You can legally self-permit a window replacement in Los Angeles. The process requires a visit to the Los Angeles Department of Building and Safety, an application, a fee based on the job’s valuation, and an agreement to comply with current building codes. That part is straightforward.
What’s less straightforward is the fine print attached to that owner-builder permit.
First, the warranty problem. Most premium window manufacturers, including brands like Therma-Tru and Mr-Glass, structure their warranties to cover manufacturing defects only when a certified installer performs the installation. The logic is that they can’t warranty a product installed incorrectly by someone who’s never done it before. When you pull an owner-builder permit and install your own windows, you’re the installer of record. If the insulated glass unit fails, the frame warps, or the hardware binds, the manufacturer will typically decline the warranty claim on installation grounds. You didn’t pay for the window to fail. You’re paying to replace it twice.
Second, your homeowner’s insurance. A standard California homeowners policy does not automatically cover damage resulting from unpermitted or improperly permitted work. If a self-installed window leaks and causes water damage, and the insurance adjuster determines the leak resulted from the installation, they can deny the water damage claim. Read your policy language carefully. Most policies exclude damage caused by faulty workmanship.
Third, the resale disclosure. California Civil Code requires sellers to disclose any work done without required permits, and any work done under an owner-builder permit where the current owner did the work themselves. If you self-permit windows and sell the home, that disclosure goes on the form. Some buyers walk. Others demand a price reduction to cover the risk of hidden defects. Either way, the money you saved on installation may come out of the sale price later.
Fourth, the inspection reality. Window replacements in Los Angeles typically require rough-in and final inspections when permits are pulled. An inspector checks the opening size, the egress requirements for bedrooms, the tempered glass requirements where code calls for it, and the structural anchors. A professional installer’s work gets flagged for corrections all the time. A first-time owner-builder’s work rarely passes on the first inspection, and failed inspections mean reinspection fees, scheduling delays, and often a professional hired to correct the work anyway.
The Real Cost Comparison: DIY vs Professional in Los Angeles
Here’s the honest math on a single standard window replacement in Los Angeles, comparing a competent DIY approach with a professional quote. These numbers reflect what we see across the Los Angeles market for a typical 36-inch by 48-inch double-hung vinyl window with low-E glass (a thin coating that blocks heat while letting light through).
| Line Item | DIY Cost | Professional Cost |
|---|---|---|
| Window unit (mid-grade) | $350 – $550 | $350 – $550 (same unit, dealer pricing) |
| Permit fee (LADBS) | $150 – $300 | $150 – $300 (included in quote) |
| Flashing kit and sealants | $40 – $80 | Included |
| Tool rental (saw, level, shims, ladder) | $75 – $150 | Not applicable |
| Disposal of old window | $25 – $50 (landfill fee) | Included |
| Labor | $0 (your time) | $300 – $500 per window |
| Stucco repair (if needed) | $150 – $400 | Typically included |
| One mistake: minor water intrusion | $500 – $2,000 | Covered by warranty |
| One mistake: structural repair | $3,000 – $8,000 | Covered by warranty and insurance |
Your realistic DIY all-in cost for that single window is $790 to $1,530, and that’s if everything goes perfectly. The professional quote for the same window in Los Angeles typically runs $800 to $1,350 per window depending on the home’s construction, the stucco condition, and access. The price gap is smaller than most people expect, and it disappears entirely the moment anything needs correcting.
For multiple windows, the math shifts further toward professional work. A whole-house window replacement in Los Angeles involves bulk dealer pricing on the units, shared mobilization costs, and the efficiency of a crew that works in sequence. A homeowner doing ten windows themselves saves on labor but eats the cost of mistakes multiplied across ten openings. Ten windows means ten flashing sequences, ten stucco cuts, ten chances for water intrusion.
How to Verify a Professional’s Work Mid-Job
Hiring a professional doesn’t mean blind trust. It means you get to hold someone accountable. Here’s a five-step checklist for verifying a window installation before the crew buttons up the exterior and walks away. This is knowledge worth having regardless of who does the work.
- Ask to see the flashing before cover-up. Before stucco patching or exterior siding goes back on, the flashing installation is visible. Ask the installer to walk you through the sequence. Bottom first, then sides lapping over bottom, then top lapping over sides. If they can’t explain it, or the sequence doesn’t match that logic, stop the job and ask questions.
- Verify the window is shimmed at the right points. Shims belong under the sill, at the side jambs near the hinge points, and at the head. They should not be crammed into random gaps. Look for shims at quarter points on the sides. If the window is shimmed at the midpoint only, it will bind over time.
- Check the reveal gap. The space between the window frame and the rough opening should be consistent around all four sides. A consistent 1/4 to 1/2 inch gap means the window is centered correctly. Uneven gaps mean the window is racked, and racked windows eventually leak and bind.
- Confirm the window operates smoothly. Open, close, lock, and unlock the window before the exterior is finished. It should move with even resistance. Any binding at this stage will not improve after trim and stucco are applied.
- Ask about the water-resistive barrier integration. The flashing must tie into the home’s existing water-resistive barrier (the paper or housewrap behind the stucco). Ask how the new flashing integrates with the old barrier. A blank stare is your answer.
In our experience doing Window Replacement in Los Angeles, the homeowners who ask these questions get better installations because the crew knows they’re being watched. You don’t need to be an expert to spot a shim in the wrong place or a gap that’s wildly uneven. That basic awareness is enough.
Warranty and Insurance Impacts You Can’t Ignore
The financial consequences of DIY window replacement extend beyond the immediate job cost. Let’s talk about what happens six months or six years later when something goes wrong.
Manufacturer warranties on premium window lines typically run 10 to 20 years on glass, and lifetime on some frames. But the warranty language almost always includes an installation clause. Here’s how it reads in practice with brands like Therma-Tru: the warranty covers defects in materials and workmanship of the window itself, not defects arising from improper installation. When a seal fails and fog appears between the panes, the manufacturer investigates. If they determine the window was installed out of square, shimmed incorrectly, or flashing in a way that stressed the frame, they deny the claim. The homeowner who saved $500 on installation now pays $500 to $800 for a replacement sash, plus labor.
Insurance is the second layer. Most Los Angeles homeowners policies cover sudden and accidental water damage. A burst pipe floods the kitchen and the insurance pays. But water damage from a slow leak caused by faulty window installation is not sudden and accidental. It’s gradual. Gradual damage is excluded from standard policies. Once the adjuster identifies the leak source, the claim often gets denied, and the homeowner is left with the full repair bill.
The professional installation path doesn’t eliminate these risks, but it transfers them. A professional with a written installation warranty is on the hook for the repair cost if the installation fails. That’s the point of the warranty.
We see this dynamic play out regularly in Los Angeles, and it shapes how we think about our own guarantee at Hale Windows & Doors home. The 365-Day Done Right Promise exists precisely because installation failures don’t always show up in the first month. Sometimes they take a season to appear. The promise is simple: if the work is not right, we make it right, no argument needed. It’s a documented, named guarantee on every job.
Common Mistakes to Avoid
- Ordering windows before verifying the rough opening. A window ordered to the wrong rough opening dimension cannot be returned. Los Angeles homes often have non-standard openings, especially in pre-war neighborhoods like West Adams and Hancock Park. Measure three times, verify with the manufacturer’s sizing chart, then order.
- Skipping the permit entirely. Some homeowners install replacement windows without pulling any permit at all, reasoning that replacement windows don’t need one. Replacement windows in Los Angeles do require permits when the opening is modified. If the rough opening changes sizes, the permit is not optional. Unpermitted work becomes a disclosure issue at resale.
- Using spray foam as the primary seal. Spray foam is an insulator, not a water sealant. Relying on foam to keep water out is a common DIY error. Water travels around rigid foam over time. The water management comes from flashing and sealant, not insulation foam.
- Cutting stucco with the wrong blade. Standard masonry blades chip and crack stucco. The right tool is a diamond blade designed for fiber cement and stucco, with controlled depth. A chipped stucco edge makes flashing nearly impossible to lap correctly.
- Neglecting egress requirements. Bedroom windows must meet minimum egress dimensions for fire escape. Replacing a bedroom window with a smaller unit is a code violation. This is one of the most common permit failures we see in Los Angeles.
- Assuming a YouTube installation matches your home. A window install in a vinyl-sided tract house in the Midwest is not the same job as a window install in a 1940s stucco Los Angeles bungalow. Different construction, different flashing details, different structural concerns. The video doesn’t transfer.
When to Call a Professional
Call a professional when the opening requires modification, when stucco must be cut and patched, when the window is larger than standard size, when the home is on a slope or has structural settlement, when the window is on a second story or higher, or when the manufacturer’s warranty matters to you. Also call a professional when you inherited a failed DIY job and water damage is already visible. The repair cost does not go down by waiting.
Window Repair in Los Angeles is a service we provide alongside full replacement, and we’ve seen every variation of DIY failure there is. If you’re in Los Angeles and unsure whether your project is DIY-safe, call (252) 675-6980 for a free estimate. The estimate includes a written price before any work begins, and if the job is genuinely DIY-friendly, we’ll tell you that too.
Frequently Asked Questions
Yes, California allows homeowners to act as owner-builders and pull their own permits for window replacement on their primary residence. The catch is that self-permitted work disqualifies most manufacturer warranties on installation, and you assume liability for any defects. You’ll also need to disclose the owner-builder work when you sell the home.
Flashing. The flashing sequence is what keeps water out of your wall assembly, and the mistakes are invisible once stucco or siding covers them. In Los Angeles, where stucco is the dominant exterior, a wrong flashing sequence can leak silently for years before damage appears.
A single standard-size replacement window in Los Angeles typically runs $800 to $1,350 professionally installed, depending on the home’s construction and access. DIY costs run $790 to $1,530 when you factor in the window, permit, tools, flashing, and disposal, before any mistakes.
Replacement windows that fit the existing rough opening without modification generally don’t require a permit. Windows that require enlarging, shrinking, or modifying the rough opening do require a permit through the Los Angeles Department of Building and Safety. Bedroom egress requirements must be maintained.
Yes, on most premium window lines, the installation clause voids coverage when the installer is not certified. The manufacturer will typically decline a claim if they determine the failure resulted from the installation rather than a manufacturing defect. This applies even if you did everything correctly by your own assessment.
You can replace one window at a time, and many Los Angeles homeowners do. The tradeoff is cost per window, which is typically higher for single-window jobs because you lose volume pricing on the units and mobilization efficiency. For exact pricing on your specific window openings, call (252) 675-6980 for a free estimate with a written line-item quote.
The Bottom Line
The DIY vs professional window replacement question resolves to one simple test: does this project involve the building envelope or not? Tasks inside the envelope, like measuring, trim work, painting, and weatherstripping, are genuinely DIY-friendly. Tasks on or crossing the envelope, like flashing, stucco cutting, and rough opening modification, carry structural and financial consequences that make professional installation the rational choice. The California owner-builder permit may be legal, but the warranty loss alone can erase the labor savings. If you’re in Los Angeles and want a written price before deciding, call (252) 675-6980. The estimate is free, and the Front Door Replacement in Los Angeles work we do follows the same threshold: written price first, guarantee after, no surprises.
Written by Spencer Odell, Owner at Hale Windows & Doors, serving Los Angeles since 2009. Explore more guides & resources from our team.